Today I’d like us to build our own Reactive Mobile Framework. A Reactive UI Framework should allow us to build apps declaratively by manipulating User Event Streams.
Now we’re not going to write such a Framework from scratch,
but we’d like to use an existing Framework and create some Bindings, so that we can use it reactively.
Examples for these types of wrappers are RxCocoa for the Cocoa and Cocoa Touch Frameworks,
RxBinding for Android or RxSwing for the Java Swing toolkit.
First we have to choose the UI Framework we’re going to work with. I’ve spent a lot of time working with mobile Reactive Frameworks, so for today, I’d like to create some Bindings for the Xamarin.Forms toolkit. Xamarin.Forms is a cross-platform UI Framework that lets you create native UIs for both Android and iOS, by leveraging the .NET Framework. We’re going to write our code in F#, since it just supports the functional paradigm a lot better.
Now without further ado let’s identify what exactly it takes to create such a Wrapper.
Firstly, we’ll need to have a way to create an event stream from user interactions,
for example, we should be able to create an event stream from a toggle or checkbox, that emits boolean values.
We’ll call these interactions event sources, some frameworks like RxBinding will only support bindings for event sources.
Next, we will need a way to take event streams and bind them to a View. An easy example is a function that takes a stream of Strings and binds them to a Label. We’ll call these event sinks, since that’s where our streams will go into.
So one of the easiest programs we can imagine with this kind of setup is a Switch that emits boolean values that then get mapped to some kind of text which finally gets bound to a Label. I made a small diagram to illustrate what’s happening:

Alright, now let’s get codin’! The first thing we’re gonna do is create the source function for the Switch.
The function will accept a Switch and return an Observable<bool>.
Creating new Observables is fairly straight forward. Let’s look at a small example:
Observable.Create(fun (o: IObserver<int>) ->
        o.OnNext(1)
        o.OnNext(2)
        o.OnError("Damn")
        o.OnNext(4)
        o.OnCompleted
)
We use the Observable.Create function and call the OnNext, OnError and OnCompleted functions to emit values and errors.
Now that we know how to create Observables, let’s finally create one for the Switch:
module RxForms =
    let fromSwitch (s: Switch) = Observable.Create(fun (o: IObserver<bool>) ->
        s.Toggled.Subscribe(fun t -> o.OnNext(t.Value)))
Here we again create an Observable that emits the value of the Switch everytime it’s toggled.
We don’t need to call OnError or OnCompleted, since the Switch won’t error out or stop emitting.
Yay! We created our first source binding! We placed in a module called RxForms, where we’ll place all of our binding functions from now on.
Okay, so let’s continue by defining a sink.
We’ll call our function bindLabel and it’ll take an Observable<string> and a Label and it’ll return a Subscription.
let bindEntry (l: Label) (o: IObservable<string>) =
    o |> Observable.subscribe(fun s -> l.Text <- s)
Now that we’ve created functions to extract sources and bind to sinks, we have a basis on which we could expand and wrap around all of the Xamarin.Forms widgets. So go! No time to lose, the Api has dozens of Views to wrap, but first let’s see if our cute little program actually works. Here’s the code:
type App() =
    inherit Application()

    let stack =
        StackLayout(VerticalOptions = LayoutOptions.Center)
    let switch = Switch()
    let label = Label()

    let switchEvents =
        RxForms.fromSwitch switch |> Observable.map (fun b -> if b then "On" else "Off")

    let subscription =
        switchEvents |> RxForms.bindLabel label

    do stack.Children.Add(switch)
    do stack.Children.Add(label)
    do base.MainPage <- ContentPage(Content = stack)
We’re using the simplest layout With a StackLayout and then create both a Switch and a Label and then use our functions to wire everything up.
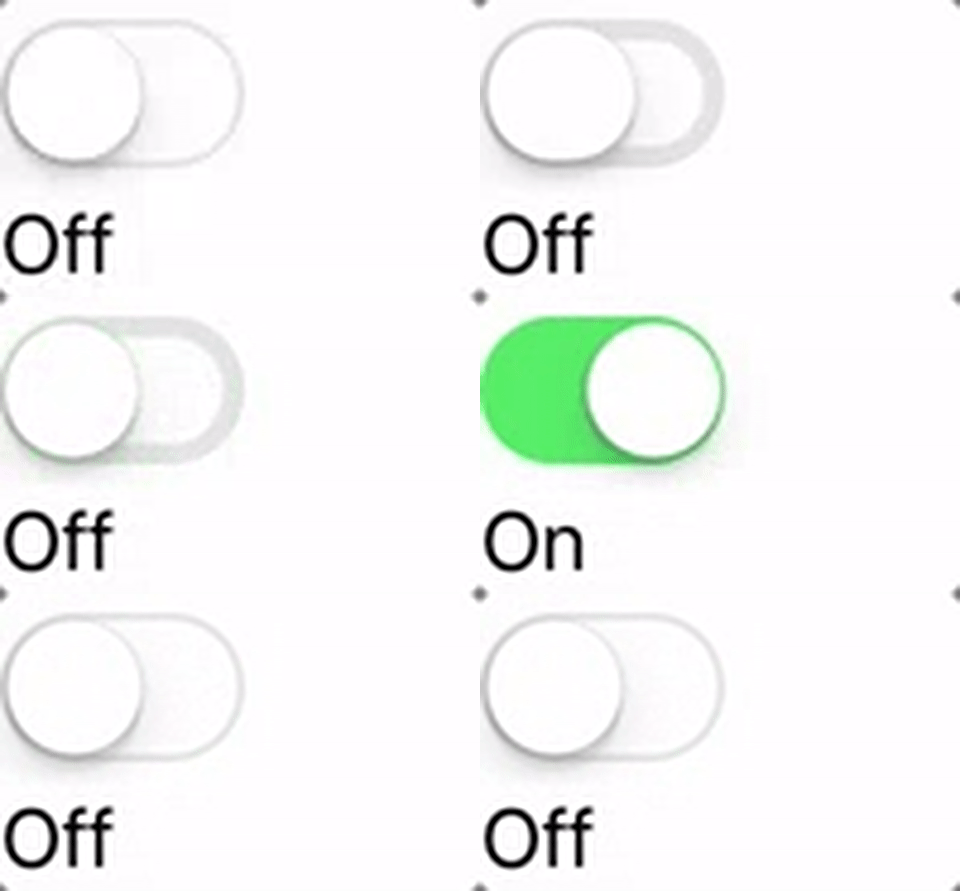
Here’s how this would look on iOS:

Notice, though, that we currently have to handle the subscription manually.
If we fleshed out our Framework, we could create a mechanism, that unsubscribes automatically,
whenever the bound view get’s destroyed (This is what RxCocoa’s DisposeBag does, maybe we’ll implement this in another article).
I could probably end this article here, but let’s look at a few more examples. First, some easy stuff:
let fromButton (b: Button) = Observable.Create(fun (o: IObserver<unit>) ->
    b.Clicked.Subscribe(fun _ -> o.OnNext( () )))

let bindEntry (e: Entry) (o: IObservable<string>) =
    o |> Observable.subscribe(fun s -> e.Text <- s)

let bindListView (list: ListView) (o: IObservable<List<_>>) =
    o |> Observable.subscribe(fun ts -> list.ItemsSource <- ts)
With these, we can easily use Buttons, ListViews and Entrys (Entrys are simple Textfields).
So let’s use these new widgets to create the most over used example app: The Todo app! Yaaaay!
The Todo app is great though, because it usually demonstrates how to handle state.
One option for implementing such an app would be to add both a Button and an Entry and combine them, but Entry also offers a Event that emits once the user ends input. Let’s add a function to extract such a source:
let fromEntryCompleted (e: Entry) = Observable.Create(fun (o: IObserver<_>) ->
    e.Completed.Subscribe(fun s -> o.OnNext(e.Text)))
We’ll start by adding both an Entry and a ListView and extracting an Observable<string> from the Entry:
type App() =
    inherit Application()

    let stack =
        StackLayout(Padding = Thickness(0.0, 40.0, 0.0, 0.0))
    let editText =
        Entry(Placeholder = "What needs to be done?", Margin = Thickness(10.0, 0.0))
    let listView =
        ListView(Margin = Thickness(10.0, 0.0))

    let submittedTodos =
        RxForms.fromEntryCompleted editText
Now what we’d like to accumulate these todos into a list of todos, a List<string>.
To do that, we’ll use the scan operator, which is like a reducer, but emits all the intermediary values.
Once again, I made a diagram to explain this (a picture speak a thousand words).

So every time our Entry completes, we add a new item to our list.
This is how that looks in code:
let todoLists =
    Observable.scan (fun acc cur -> acc |> List.append [cur]) [] submittedTodos

let subscription =
    todoLists |> RxForms.bindListView listView
And with that, we’re done right?
Well not quite, since now every time we submit a Todo, our Entry doesn’t clear, which kinda sucks.
So we need to write another binding for Entrys.
However, I’m going to leave that as an exercise for you, dear reader!
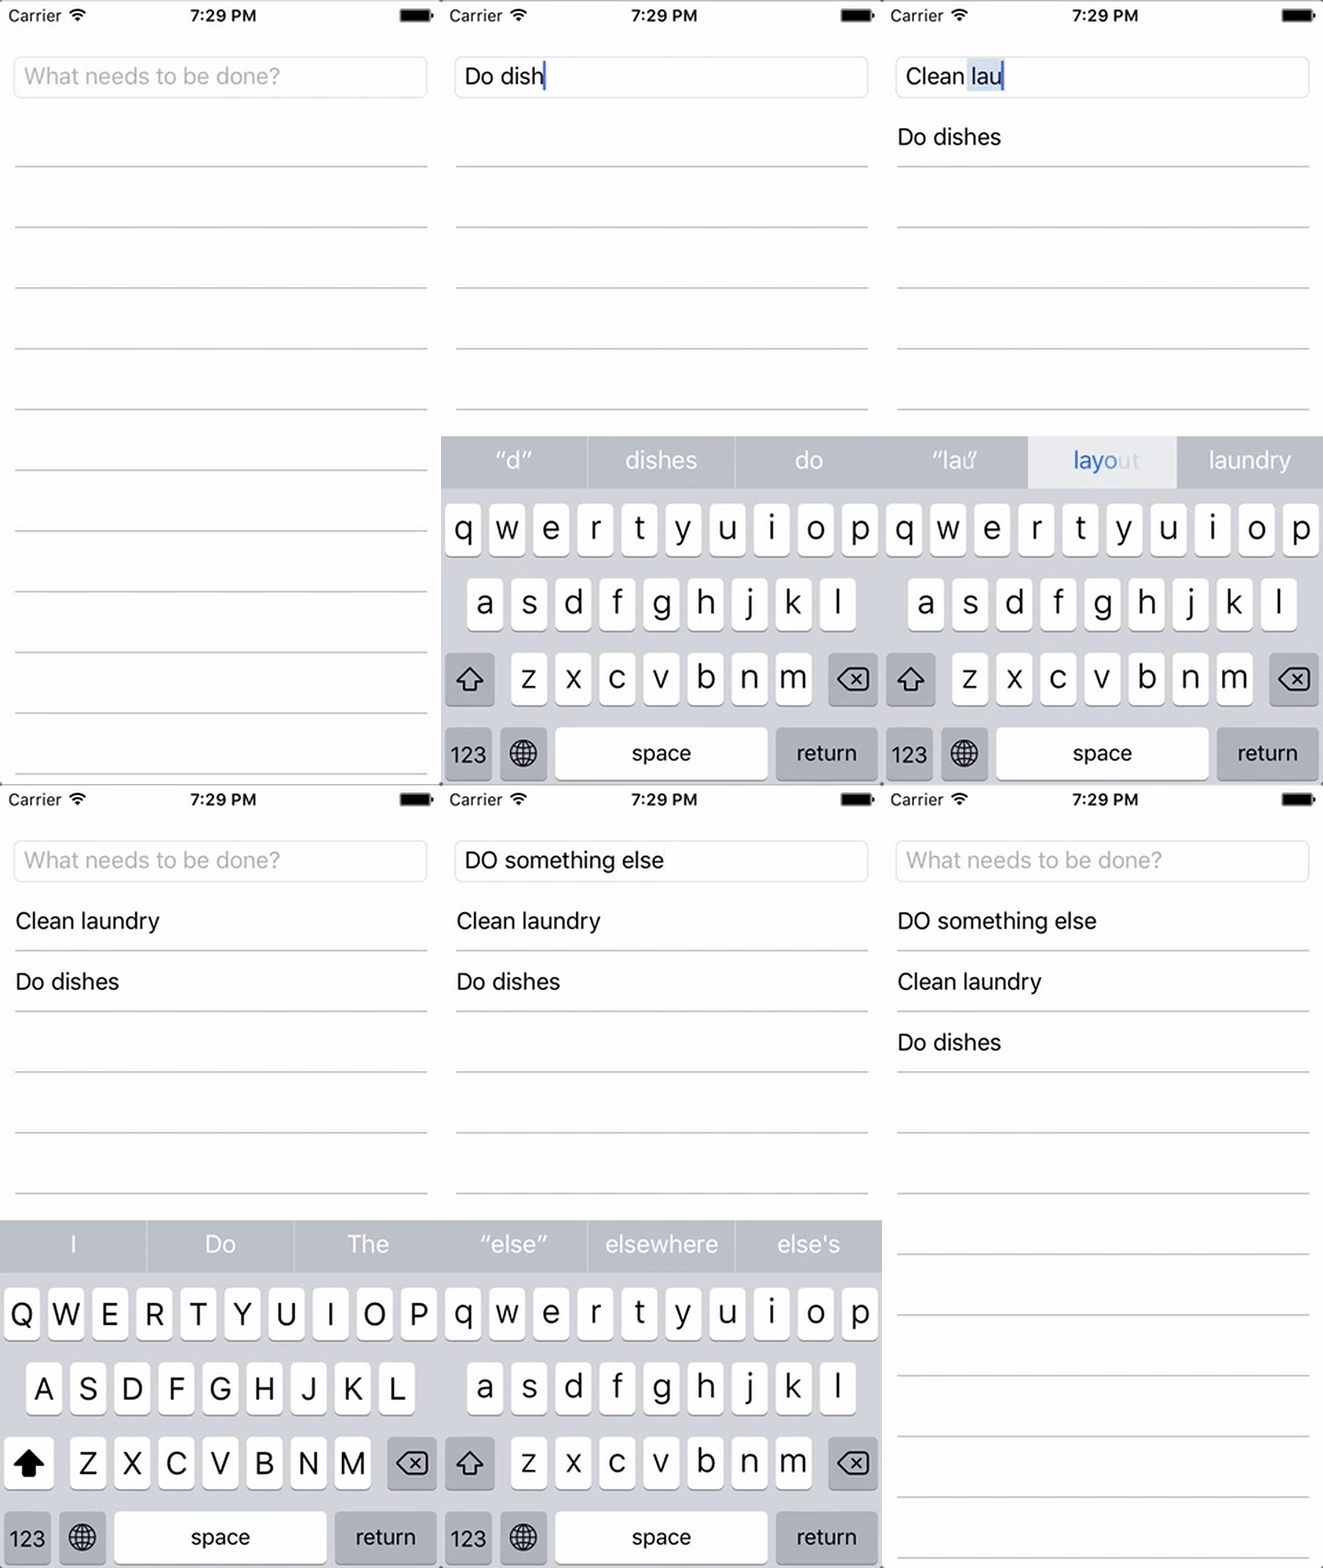
Instead, here’s a gif on how it should look in the end (I’ll upload the final code, just in case you get stuck).

Conclusion
So that’s it for now, I hope, that with your help, we can bring Reactive Programming to more and more UI Frameworks. Me, personally, I’d really like to see a full fledged Library made out of what we started in this article. In case you have any questions, I’d love to hear them, so just post them in the comments down below. The full code of this article can be found here. Happy Coding everyone!